> ## Documentation Index
> Fetch the complete documentation index at: https://docs.chainlit.io/llms.txt
> Use this file to discover all available pages before exploring further.
# Llama Index
In this tutorial, we will guide you through the steps to create a Chainlit application integrated with [Llama Index](https://github.com/jerryjliu/llama_index).
 ## Prerequisites
Before diving in, ensure that the following prerequisites are met:
* A working installation of Chainlit
* The Llama Index package installed
* An OpenAI API key
* A basic understanding of Python programming
## Step 1: Set Up Your Data Directory
Create a folder named `data` in the root of your app folder. Download the [state of the union](https://github.com/Chainlit/cookbook/blob/main/llama-index/data/state_of_the_union.txt) file (or any files of your own choice) and place it in the `data` folder.
## Step 2: Create the Python Script
Create a new Python file named `app.py` in your project directory. This file will contain the main logic for your LLM application.
## Step 3: Write the Application Logic
In `app.py`, import the necessary packages and define one function to handle a new chat session and another function to handle messages incoming from the UI.
In this tutorial, we are going to use `RetrieverQueryEngine`. Here's the basic structure of the script:
```python app.py theme={null}
import os
import openai
import chainlit as cl
from llama_index.core import (
Settings,
StorageContext,
VectorStoreIndex,
SimpleDirectoryReader,
load_index_from_storage,
)
from llama_index.llms.openai import OpenAI
from llama_index.embeddings.openai import OpenAIEmbedding
from llama_index.core.query_engine.retriever_query_engine import RetrieverQueryEngine
from llama_index.core.callbacks import CallbackManager
from llama_index.core.service_context import ServiceContext
openai.api_key = os.environ.get("OPENAI_API_KEY")
try:
# rebuild storage context
storage_context = StorageContext.from_defaults(persist_dir="./storage")
# load index
index = load_index_from_storage(storage_context)
except:
documents = SimpleDirectoryReader("./data").load_data(show_progress=True)
index = VectorStoreIndex.from_documents(documents)
index.storage_context.persist()
@cl.on_chat_start
async def start():
Settings.llm = OpenAI(
model="gpt-3.5-turbo", temperature=0.1, max_tokens=1024, streaming=True
)
Settings.embed_model = OpenAIEmbedding(model="text-embedding-3-small")
Settings.context_window = 4096
service_context = ServiceContext.from_defaults(callback_manager=CallbackManager([cl.LlamaIndexCallbackHandler()]))
query_engine = index.as_query_engine(streaming=True, similarity_top_k=2, service_context=service_context)
cl.user_session.set("query_engine", query_engine)
await cl.Message(
author="Assistant", content="Hello! Im an AI assistant. How may I help you?"
).send()
@cl.on_message
async def main(message: cl.Message):
query_engine = cl.user_session.get("query_engine") # type: RetrieverQueryEngine
msg = cl.Message(content="", author="Assistant")
res = await cl.make_async(query_engine.query)(message.content)
for token in res.response_gen:
await msg.stream_token(token)
await msg.send()
```
This code sets up an instance of `RetrieverQueryEngine` for each chat session. The `RetrieverQueryEngine` is invoked everytime a user sends a message to generate the response.
The callback handlers are responsible for listening to the intermediate steps and sending them to the UI.
## Step 4: Launch the Application
To kick off your LLM app, open a terminal, navigate to the directory containing `app.py`, and run the following command:
```bash theme={null}
chainlit run app.py -w
```
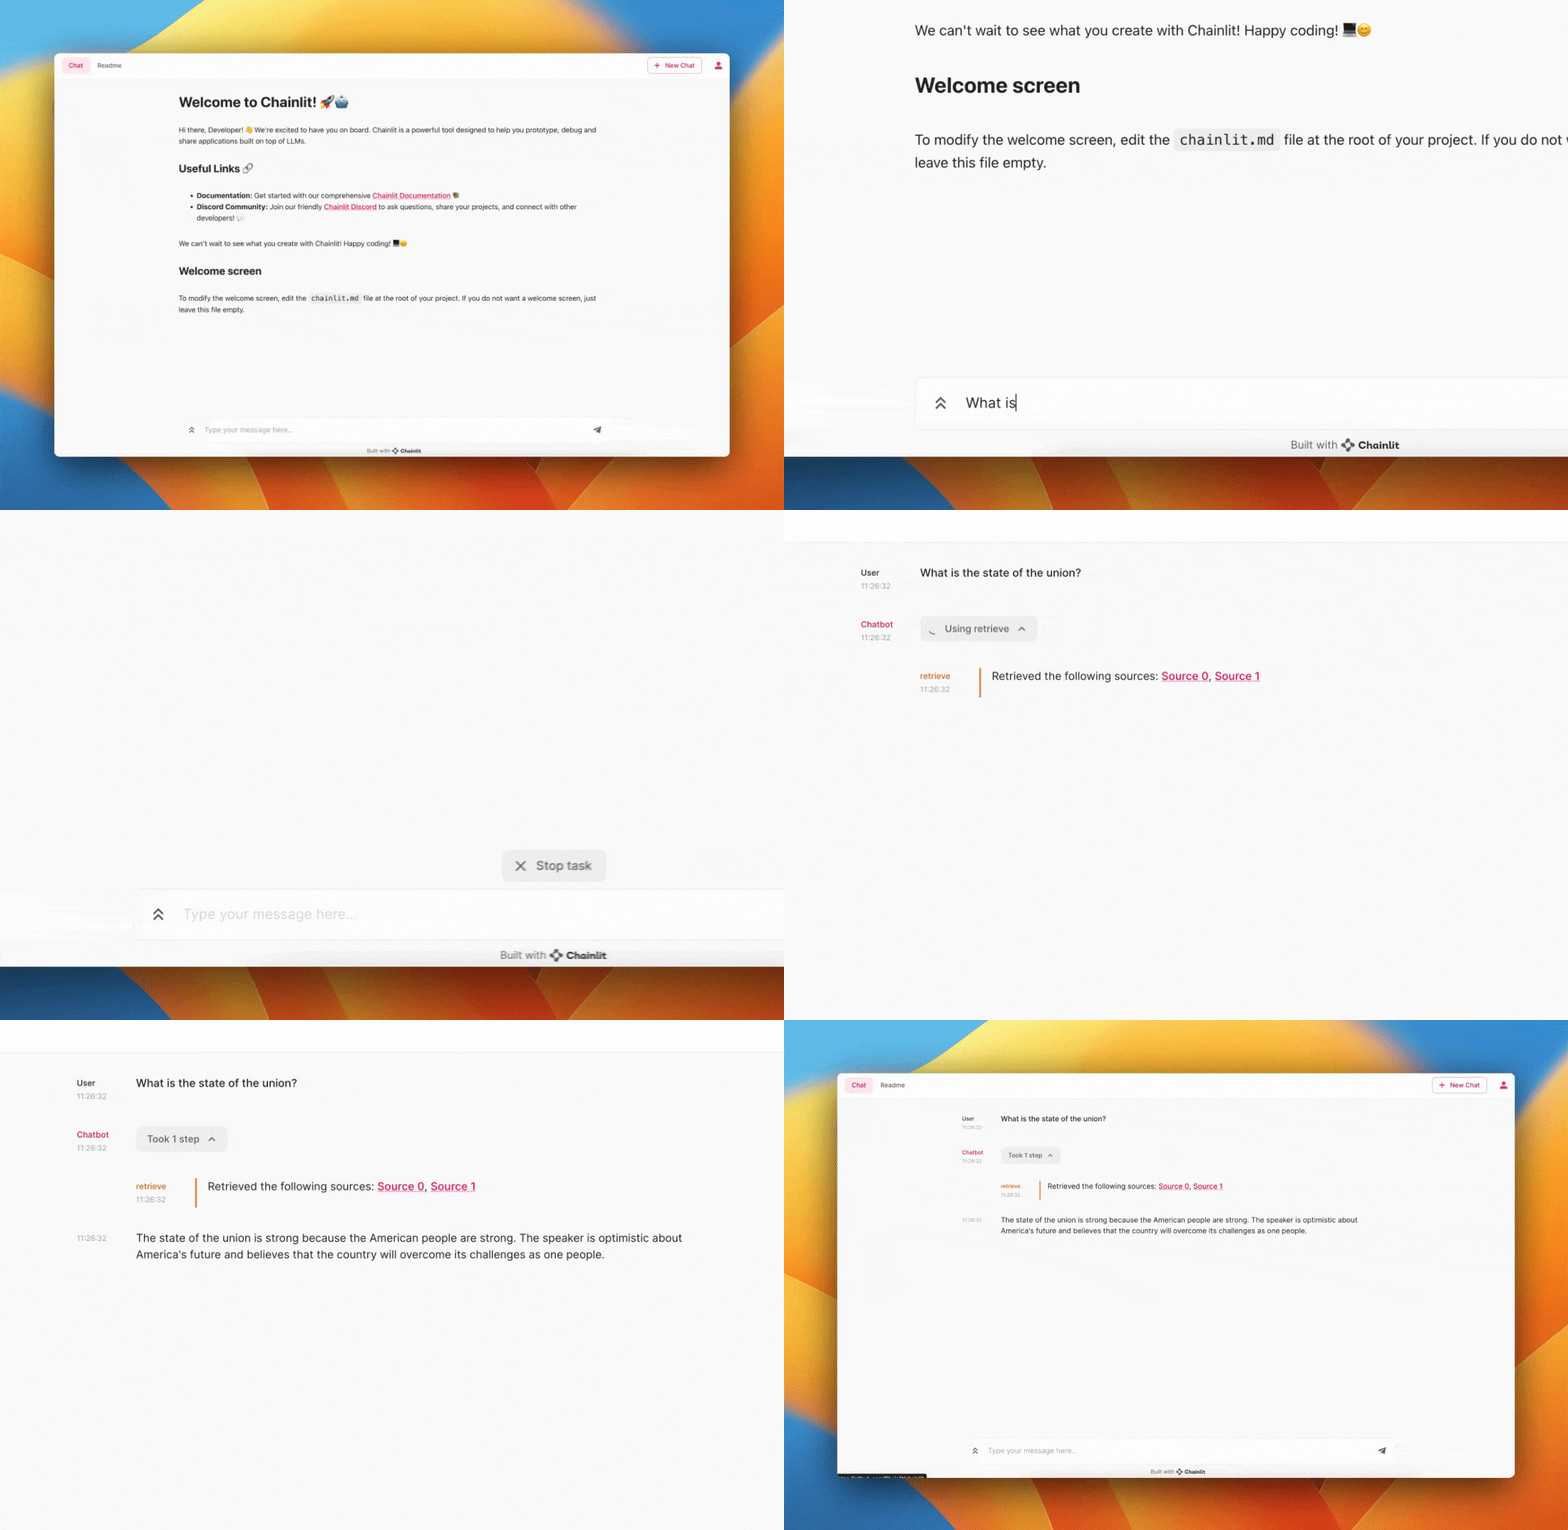
The `-w` flag enables auto-reloading so that you don't have to restart the server each time you modify your application. Your chatbot UI should now be accessible at [http://localhost:8000](http://localhost:8000).
## Prerequisites
Before diving in, ensure that the following prerequisites are met:
* A working installation of Chainlit
* The Llama Index package installed
* An OpenAI API key
* A basic understanding of Python programming
## Step 1: Set Up Your Data Directory
Create a folder named `data` in the root of your app folder. Download the [state of the union](https://github.com/Chainlit/cookbook/blob/main/llama-index/data/state_of_the_union.txt) file (or any files of your own choice) and place it in the `data` folder.
## Step 2: Create the Python Script
Create a new Python file named `app.py` in your project directory. This file will contain the main logic for your LLM application.
## Step 3: Write the Application Logic
In `app.py`, import the necessary packages and define one function to handle a new chat session and another function to handle messages incoming from the UI.
In this tutorial, we are going to use `RetrieverQueryEngine`. Here's the basic structure of the script:
```python app.py theme={null}
import os
import openai
import chainlit as cl
from llama_index.core import (
Settings,
StorageContext,
VectorStoreIndex,
SimpleDirectoryReader,
load_index_from_storage,
)
from llama_index.llms.openai import OpenAI
from llama_index.embeddings.openai import OpenAIEmbedding
from llama_index.core.query_engine.retriever_query_engine import RetrieverQueryEngine
from llama_index.core.callbacks import CallbackManager
from llama_index.core.service_context import ServiceContext
openai.api_key = os.environ.get("OPENAI_API_KEY")
try:
# rebuild storage context
storage_context = StorageContext.from_defaults(persist_dir="./storage")
# load index
index = load_index_from_storage(storage_context)
except:
documents = SimpleDirectoryReader("./data").load_data(show_progress=True)
index = VectorStoreIndex.from_documents(documents)
index.storage_context.persist()
@cl.on_chat_start
async def start():
Settings.llm = OpenAI(
model="gpt-3.5-turbo", temperature=0.1, max_tokens=1024, streaming=True
)
Settings.embed_model = OpenAIEmbedding(model="text-embedding-3-small")
Settings.context_window = 4096
service_context = ServiceContext.from_defaults(callback_manager=CallbackManager([cl.LlamaIndexCallbackHandler()]))
query_engine = index.as_query_engine(streaming=True, similarity_top_k=2, service_context=service_context)
cl.user_session.set("query_engine", query_engine)
await cl.Message(
author="Assistant", content="Hello! Im an AI assistant. How may I help you?"
).send()
@cl.on_message
async def main(message: cl.Message):
query_engine = cl.user_session.get("query_engine") # type: RetrieverQueryEngine
msg = cl.Message(content="", author="Assistant")
res = await cl.make_async(query_engine.query)(message.content)
for token in res.response_gen:
await msg.stream_token(token)
await msg.send()
```
This code sets up an instance of `RetrieverQueryEngine` for each chat session. The `RetrieverQueryEngine` is invoked everytime a user sends a message to generate the response.
The callback handlers are responsible for listening to the intermediate steps and sending them to the UI.
## Step 4: Launch the Application
To kick off your LLM app, open a terminal, navigate to the directory containing `app.py`, and run the following command:
```bash theme={null}
chainlit run app.py -w
```
The `-w` flag enables auto-reloading so that you don't have to restart the server each time you modify your application. Your chatbot UI should now be accessible at [http://localhost:8000](http://localhost:8000).